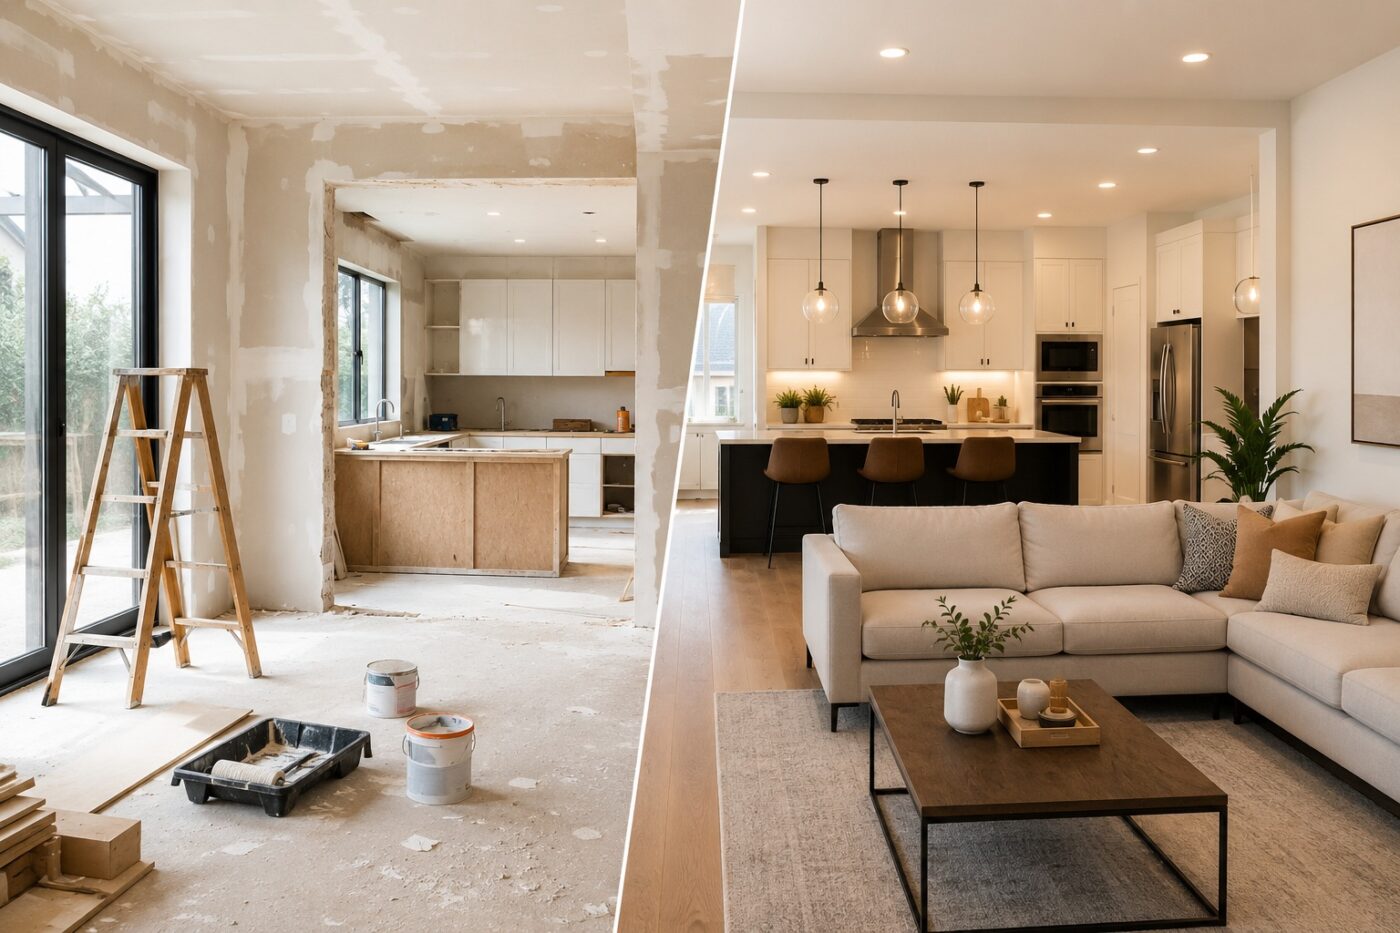
Home renovation can be one of the most rewarding investments in a property, but it can also become much more expensive than expected. What begins as a simple kitchen update, bathroom remodel, or flooring replacement may reveal hidden repairs, unexpected labor costs, and additional expenses that were not included in the original budget.
However, an expensive renovation is not necessarily a better renovation. Many homeowners spend more than necessary because of poor planning, unnecessary replacements, rushed purchases, or decisions made after construction has already started.
The best way to save money during renovation is to reduce unnecessary work, plan expenses carefully, choose materials strategically, and invest in improvements that offer lasting value. This approach helps control costs without compromising safety, durability, or everyday comfort.
Saving money does not always mean buying cheaper products. Preserving a functional layout, restoring existing materials, coordinating contractors efficiently, or preventing a single expensive mistake can sometimes provide greater savings than choosing lower-priced finishes.
Whether you are renovating one room or an entire house, the following 12 strategies will help you make smarter financial decisions throughout the project.
Quick Overview: Where Can You Save Money During Renovation?
Different renovation strategies reduce different types of expenses. Understanding where costs originate makes it easier to identify opportunities for meaningful savings.
| Money-Saving Strategy | Main Financial Benefit |
|---|---|
| Plan the project before construction | Prevents unnecessary changes and repeated work |
| Establish a realistic budget | Reduces overspending and financial surprises |
| Follow the correct renovation sequence | Protects completed work and avoids costly corrections |
| Keep the existing layout | Limits structural, plumbing, and electrical modifications |
| Compare contractor estimates | Helps identify overpriced or incomplete proposals |
| Choose appropriate DIY tasks | Reduces selected labor expenses |
| Purchase materials strategically | Avoids unnecessary delivery, waste, and replacement costs |
| Restore existing elements | Reduces demolition and replacement expenses |
| Improve energy efficiency | May lower future utility and maintenance costs |
| Control changes during construction | Prevents avoidable additional charges |
| Prioritize high-value improvements | Directs spending toward worthwhile upgrades |
| Plan renovation stages carefully | Helps manage cash flow and coordinate future work |
The financial benefits of each strategy depend on the home's condition, project scope, local labor prices, and materials used. Some improvements reduce immediate construction expenses, while others provide savings over time.
SECTION 1 — Plan Everything Before Starting
A successful budget-friendly renovation begins long before the first wall is opened or the first material is purchased. Without a clear plan, homeowners can easily spend money on unnecessary improvements, order unsuitable products, or pay contractors to redo completed work.
One of the most effective ways to control renovation costs is to make important decisions before construction begins, when changes are usually easier and less expensive.
Define the Renovation Scope
Start by identifying exactly what needs to be renovated and why. Separate essential repairs from improvements intended primarily to update the home's appearance.
For example, an outdated bathroom may need only new fixtures, better lighting, and refreshed surfaces. A complete reconstruction may be unnecessary if the existing plumbing, waterproofing, and layout remain functional.
The same principle applies to kitchens, living rooms, and bedrooms. Before deciding to replace walls, flooring, cabinets, or other elements, evaluate whether repairing or updating them would achieve the desired result.
A detailed renovation plan should define the work required in each room, the materials needed, the expected contractor responsibilities, and the decisions that must be finalized before installation.
Finalize Important Design Decisions Early
Late design changes frequently create additional expenses because construction tasks depend on one another.
Moving a kitchen sink after plumbing has been installed may require new pipework and wall repairs. Changing cabinet dimensions after manufacturing begins can affect countertops, appliance placement, and installation schedules.
To minimize these problems, finalize the main layout, plumbing fixture locations, electrical requirements, and major material selections before the relevant construction stages begin.
Not every small design detail needs to be decided immediately, but decisions that influence structural work, technical systems, or custom-made products should be made as early as practical.
Create a Renovation Planning Document
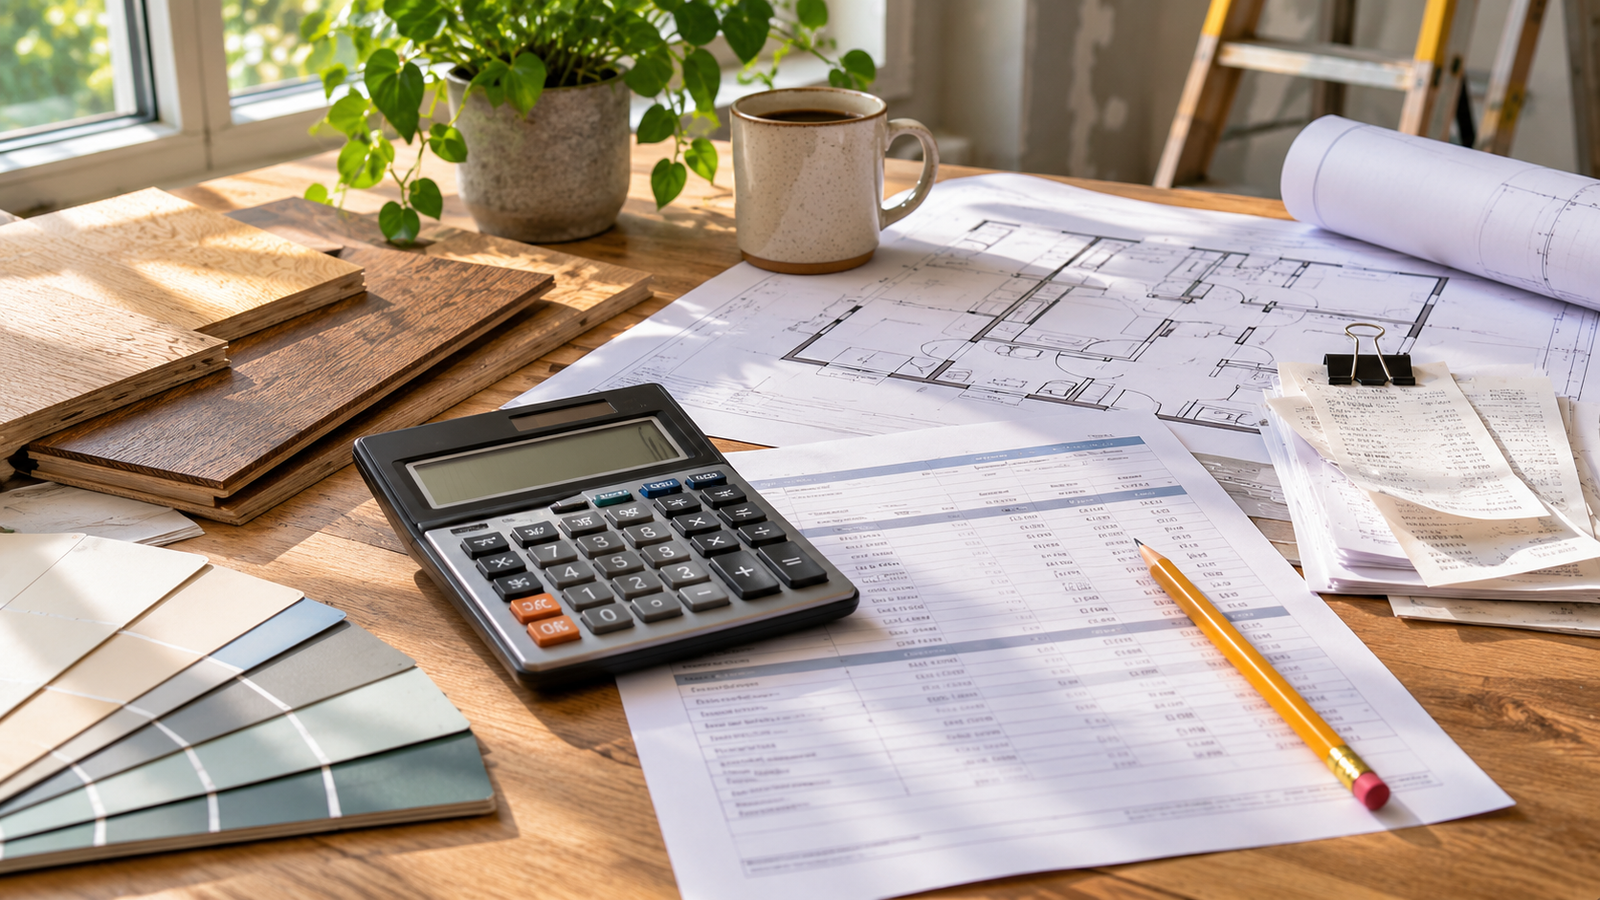
A simple spreadsheet or planning document can organize the entire project. Record the planned work for each room, estimated costs, material choices, contractor responsibilities, and expected completion dates.
For example, a kitchen renovation plan should identify whether the existing cabinets will remain, which appliances need replacement, whether electrical upgrades are necessary, and when countertops must be measured and ordered.
This document also helps homeowners communicate consistently with contractors and suppliers.
When everyone works from the same agreed scope, misunderstandings become less likely, and additional expenses are easier to identify.
Money-saving takeaway: Finalizing the project scope before construction reduces the risk of expensive design changes, incorrect purchases, and repeated labor.
SECTION 2 — Set a Realistic Renovation Budget
A renovation budget should represent the complete cost of finishing the project, not just the price of visible materials and contractor labor.
Homeowners sometimes underestimate expenses because they focus on cabinets, flooring, paint, or appliances while overlooking demolition, waste removal, deliveries, inspections, and necessary preparation work.
A realistic budget makes these expenses visible before they become financial problems.
Calculate the Full Project Cost
Begin with estimates for labor and materials, then include supporting expenses such as transportation, demolition, waste disposal, permits where required, equipment rental, and finishing accessories.
For example, replacing flooring may involve more than purchasing new boards or tiles. The existing floor might need removal, the subfloor may require leveling, and additional moisture protection could be necessary.
Similarly, replacing kitchen cabinets may affect plumbing connections, wall finishes, and countertops.
These related tasks should be considered together rather than treated as separate surprises.
Set Aside a Contingency Reserve
Unexpected conditions are common during renovation, especially in older properties. Water damage, unsuitable wiring, deteriorated pipes, and uneven structural surfaces may remain hidden until construction begins.
A contingency allowance of approximately 10–20% is a useful starting point for many projects, but the appropriate amount depends on the property's condition, the uncertainty of the work, and the homeowner's financial circumstances. Older homes and projects involving major demolition may require a larger reserve.
Consider a homeowner with a total renovation budget of $20,000 who decides to reserve 15% for unexpected expenses.
| Budget Category | Amount |
|---|---|
| Planned renovation work | $17,000 |
| Contingency reserve (15%) | $3,000 |
| Total available budget | $20,000 |
This is an illustrative budgeting example, not an estimate of actual renovation prices.
The important distinction is that the emergency reserve is already included within the total available budget. Treating it as additional spending money would defeat its purpose.
Track Actual Spending Against the Plan
Once renovation begins, regularly compare actual spending with the original budget.
Record contractor payments, material purchases, delivery fees, and approved changes. Keeping receipts and invoices organized makes it easier to identify which parts of the project are exceeding expectations.
If costs increase, review optional upgrades before reducing spending on essential repairs or safety-related work.
A well-maintained budget should also distinguish committed expenses from money that has already been paid. This helps prevent a situation where the remaining bank balance appears sufficient even though large contractor payments are still outstanding.
Avoid Financing Unnecessary Upgrades
Financing can be useful for essential repairs, but borrowing money for purely decorative improvements can increase the true cost of renovation through interest and fees.
Before taking on additional debt, consider whether the upgrade is necessary now or can reasonably be postponed.
A smaller renovation completed within a sustainable budget may provide better financial value than a larger project that creates years of repayment obligations.
Money-saving takeaway: A complete budget, realistic contingency reserve, and consistent expense tracking help prevent renovation costs from becoming unmanageable.
SECTION 3 — Renovate in the Right Order
Renovation costs often increase when work is completed in the wrong sequence. Installing finishes before technical systems are ready, failing to coordinate contractors, or ordering custom products using unverified measurements can result in costly corrections.
A well-organized schedule reduces unnecessary labor while protecting completed work.
Address Structural and Technical Problems First
Before investing in decorative improvements, inspect the areas that could affect the safety and durability of the finished home.
Roof leaks, damaged plumbing, electrical hazards, structural defects, and moisture problems should be evaluated before affected surfaces are covered.
There is little financial benefit in installing new flooring if the subfloor requires repair or painting a wall that continues to experience water intrusion.
However, not every existing system needs to be replaced. The goal is to identify actual defects and necessary upgrades rather than undertake expensive technical work without evidence that it is needed.
Coordinate Construction Stages
A typical renovation may begin with inspections and selective demolition, followed by structural repairs and the installation or modification of electrical, plumbing, heating, and ventilation systems.
Required testing and inspections should take place before work is concealed. Wall and ceiling repairs, surface preparation, flooring, cabinetry, and decorative finishes can then follow in an order appropriate to the specific project.
The exact sequence depends on the materials and installation methods.
For example, some floor finishes are installed before kitchen cabinets, while certain floating flooring systems require clearance around fixed cabinetry. Painting may also involve an initial coat before flooring installation and final touch-ups afterward.
Manufacturer instructions and contractor coordination should determine these details rather than relying on one universal renovation sequence.
Order Materials at the Right Time
Demolition can reveal conditions that affect measurements or installation requirements. However, waiting until all demolition is complete before ordering every product can also create delays.
Custom windows, doors, cabinetry, and countertops may have substantial manufacturing or delivery lead times.
The smarter approach is to select products early, identify which dimensions must be confirmed after demolition, and schedule purchases according to construction dependencies.
For instance, cabinet designs may be prepared in advance, while final dimensions are confirmed after the relevant walls and services are inspected.
Protect Completed Work
New floors, countertops, doors, and painted surfaces can be damaged when subsequent construction activities are poorly coordinated.
Protective coverings, appropriate material storage, and clear contractor responsibilities help prevent scratches, moisture damage, and unnecessary repairs.
Whenever possible, schedule dusty and heavy construction activities before vulnerable finishes are installed.
Money-saving takeaway: Good renovation sequencing prevents repeated labor, protects purchased materials, and reduces delays caused by poor coordination.
SECTION 4 — Keep the Existing Layout When Possible
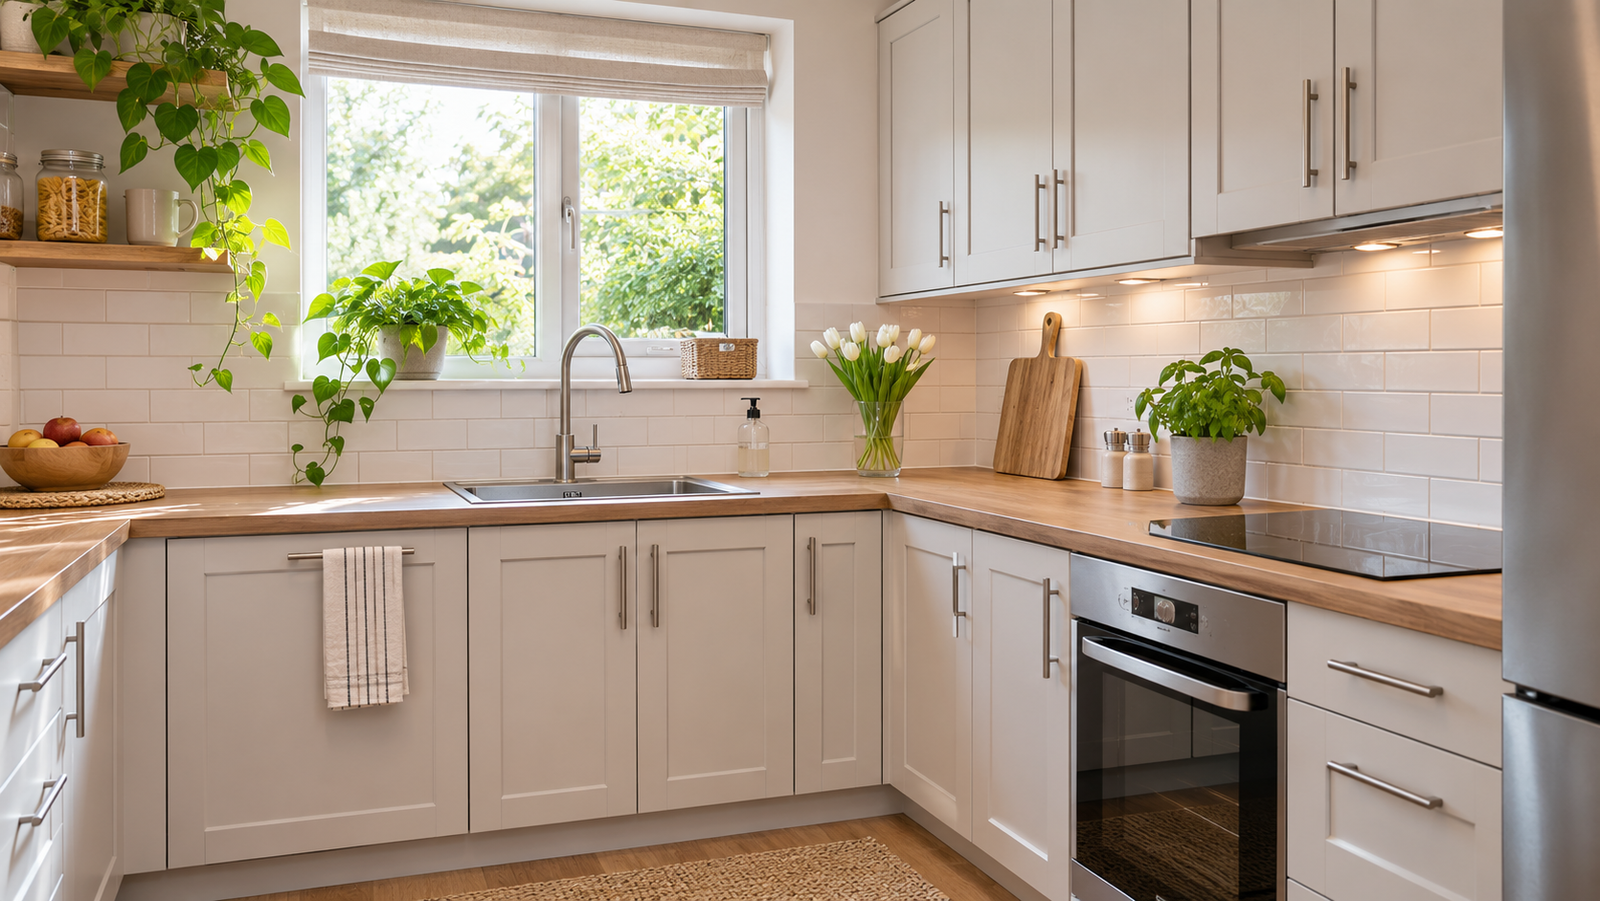
Changing the layout of a kitchen, bathroom, or entire house can significantly increase renovation expenses because even relatively small design changes may affect several technical systems.
Moving a sink, relocating a toilet, or removing a wall can require additional plumbing, electrical work, structural assessment, flooring repairs, and finishing.
When the existing layout is functional, preserving it is often one of the most effective ways to control costs.
Minimize Plumbing Relocation
Plumbing modifications can become particularly expensive when drains, supply lines, or waterproofed surfaces must be reconstructed.
A bathroom renovation that keeps the toilet, shower, and sink in their existing locations may require substantially less work than a project that moves every fixture.
Similarly, a kitchen can receive new cabinets, countertops, lighting, and appliances without necessarily changing the position of the sink or dishwasher.
This approach also helps reduce disruption to surrounding rooms and existing finishes.
However, keeping outdated or defective plumbing simply to save money would be counterproductive. Necessary repairs and code-compliant upgrades should still be completed.
Preserve Functional Walls and Openings
Removing walls may create a more open interior, but the work often extends beyond demolition.
If a wall is load-bearing, structural assessment and appropriate reinforcement may be necessary. Even removing a non-load-bearing partition can require electrical relocation, flooring repairs, and ceiling refinishing.
Before making structural changes, consider whether furniture arrangement, lighting, storage improvements, or redesigned cabinetry could solve the underlying problem.
A better-organized room can sometimes provide the same practical benefits as an expensive layout change.
Improve Functionality Without Major Reconstruction
Preserving the layout does not mean accepting an outdated interior.
Replacing worn hardware, refinishing cabinets, improving storage, updating fixtures, and choosing more suitable lighting can transform a room while retaining its existing structure.
In a kitchen, installing efficient drawer organizers and improving cabinet access may deliver more practical value than relocating an entire wall of cabinetry.
The key is to identify what actually makes the room inconvenient rather than assuming that complete reconstruction is necessary.
When Layout Changes Are Worth Considering
Some layouts genuinely limit accessibility, safety, or everyday functionality. In those situations, the additional expense may be justified.
For example, a bathroom that cannot be used safely by someone with mobility limitations may need more extensive modifications.
The decision should be based on practical benefits, estimated total costs, technical feasibility, and the expected duration of ownership.
Money-saving takeaway: Preserve functional layouts where possible and spend on modifications only when they solve meaningful problems.

SECTION 5 — Compare Contractor Quotes Carefully
Choosing a contractor based only on the lowest initial price can be a costly mistake. Two estimates may appear to cover the same renovation while including very different services, materials, or responsibilities.
A careful comparison helps homeowners understand what they are actually purchasing.
Request Comparable Estimates
For substantial renovation work, obtaining several written estimates is a sensible approach.
Each contractor should receive the same information about the project scope, materials, expected finish quality, and required work. Otherwise, differences in price may reflect different assumptions rather than better value.
A detailed estimate should make clear what is included and excluded, how changes will be priced, and whether important supporting services are part of the quoted amount.
Consider the following hypothetical comparison.
| Cost Item | Contractor A | Contractor B |
|---|---|---|
| Initial estimate | $12,000 | $13,000 |
| Waste removal | $600 | Included |
| Material delivery | $400 | Included |
| Final cleanup | $300 | Included |
| Total estimated cost | $13,300 | $13,000 |
Illustrative example assuming equivalent materials, workmanship, project scope, and contractual conditions.
Although Contractor A initially appears cheaper, the total expected expense is higher once excluded services are considered.
This illustrates why comparing complete project costs is more useful than comparing headline prices.
Evaluate Quality and Reliability
Price matters, but so do experience, communication, insurance, and previous workmanship.
Before signing an agreement, review relevant references and completed projects. Verify professional qualifications, licensing, and insurance where applicable in your location.
A contractor who provides clear documentation and explains potential complications may offer better value than one who promises an unusually low price without explaining how the work will be completed.
Extremely low bids deserve careful investigation, but a higher price is not automatically proof of better workmanship.
Choose an Appropriate Contract Structure
Fixed-price contracts can provide greater cost predictability when the work is clearly defined. However, they may include exclusions, allowances, or provisions for additional charges when hidden conditions are discovered.
Time-and-material contracts may be suitable for uncertain repairs, provided labor rates, material markups, reporting requirements, and spending controls are agreed in advance.
Neither structure guarantees lower costs.
The best arrangement depends on how accurately the work can be defined and how financial risks are allocated between the homeowner and contractor.
Document Payments and Changes
A written agreement should establish the scope of work, materials, payment milestones, expected schedule, and procedures for approving additional work.
Payments should be consistent with applicable local rules and the terms of the contract.
Whenever a change becomes necessary, request written confirmation of the additional cost and its effect on the completion date before approving it, except where urgent safety work requires immediate action.
Money-saving takeaway: Compare complete written estimates and contractor reliability, not just the lowest advertised price.

SECTION 6 — Decide What DIY Work Makes Sense
Doing selected renovation tasks yourself can reduce labor expenses, but DIY is only economical when the work can be completed safely and correctly.
The most effective approach is to distinguish manageable cosmetic improvements from work requiring specialized knowledge, equipment, or professional qualifications.
Choose Low-Risk Tasks That Match Your Skills
Painting suitable prepared surfaces, assembling furniture, updating cabinet handles, and installing simple decorative accessories are examples of tasks many homeowners can complete themselves.
Such activities usually require basic tools and can be scheduled around other renovation work.
Painting is especially attractive because much of the expense involves labor. With careful preparation and appropriate products, homeowners may be able to reduce costs while achieving satisfactory results.
However, the savings depend on the quality of the work. Poor preparation, incorrect product selection, or repeated mistakes can increase material consumption and lead to additional repairs.
Be Cautious With Demolition
Demolition is often described as an easy way to save money, but removing existing building materials can expose concealed electrical wiring, plumbing, structural elements, or hazardous substances.
Older buildings may contain materials that require specialist assessment before being disturbed.
For example, certain older painted surfaces can contain lead, while some insulation, tiles, or other building products may contain asbestos. These risks cannot be identified reliably through appearance alone.
In the United States, particular lead-safe renovation requirements apply to many homes built before 1978. Other countries have their own regulations and safety requirements.
If potentially hazardous material is suspected, avoid disturbing it until an appropriately qualified professional has assessed the situation.
Leave Technical and Safety-Critical Work to Professionals
Electrical wiring, gas installations, structural modifications, major plumbing changes, and specialized waterproofing work can create significant safety or property risks when completed incorrectly.
Some of these activities also require licensing, permits, testing, or inspections, depending on the jurisdiction.
Even apparently simple tasks, such as replacing an electrical light fitting, may involve regulated electrical work.
Professional installation is often the more economical option when mistakes could cause water damage, fire hazards, structural problems, or expensive corrective work.
Consider the True Cost of DIY
The financial benefit of DIY should account for more than the contractor labor charge.
For instance, completing a task yourself may require buying tools, renting equipment, purchasing additional materials, or spending several days learning and correcting mistakes.
If a task takes considerably longer than expected, it may also interfere with other contractors or delay the renovation.
Before choosing DIY, compare the professional price with your expected material, tool, disposal, and equipment costs, along with the realistic time commitment and risk of errors.
A hybrid approach often works well: homeowners manage appropriate cosmetic tasks while qualified tradespeople handle technical installations.
Money-saving takeaway: DIY provides the greatest value when it reduces labor expenses without introducing safety risks, costly mistakes, or major delays.
SECTION 7 — Buy Materials Strategically
Materials can account for a substantial part of a renovation budget, especially when replacing flooring, cabinetry, doors, windows, and interior finishes.
However, buying the cheapest available products is not necessarily the best way to save money.
Smart purchasing involves comparing the total cost, selecting suitable quality, and ordering the correct materials at the appropriate stage.
Compare the Total Purchase Cost
Two suppliers may advertise different prices for the same product, but the cheaper listing does not always provide better value.
Delivery charges, taxes, return conditions, packaging quantities, and product availability can affect the final expense.
For example, flooring purchased online may cost less per square meter but become more expensive once freight charges and the cost of replacing damaged packages are included.
Local suppliers may offer advantages such as easier returns, faster collection, or the ability to inspect materials before purchasing.
For major purchases, compare the complete delivered cost rather than relying on the advertised unit price.
Choose Materials Based on Performance
A durable mid-range product can sometimes provide better value than either a low-cost alternative or a premium decorative option.
The appropriate choice depends on the intended use.
Bathroom finishes should be suitable for moisture exposure and the relevant installation system. Flooring should withstand expected traffic and cleaning conditions. Cabinets should have construction and hardware appropriate for everyday use.
Brand reputation and price alone are not enough. Compare product specifications, manufacturer warranties, compatibility with existing systems, and realistic maintenance requirements.
Spending more is justified when the additional performance matters, not simply because a product is marketed as premium.
Calculate Quantities Carefully
Purchasing too little material may delay installation or create problems when additional products come from a different manufacturing batch.
Purchasing too much increases waste and may leave homeowners with expensive unused products.
Calculate material quantities using actual measurements and the installation layout. Allowances for cutting, breakage, and future repairs should reflect the specific material, room geometry, and manufacturer's guidance.
A straightforward rectangular room may produce less cutting waste than a room with many corners or an intricate tile pattern.
For products with visible variations in color or finish, checking batch consistency before installation is particularly important.
Take Advantage of Discounts Without Buying Unnecessarily
Seasonal promotions, discontinued ranges, and supplier clearance sales can provide opportunities to reduce costs.
However, a discount only saves money when the product is suitable and would otherwise have been purchased.
Buying materials too far in advance may create storage problems or complicate returns if project requirements change.
Before purchasing discounted products, confirm that sufficient quantities are available, inspect their condition, and check whether matching replacement pieces can be obtained later.
Coordinate Purchases With Contractors
If the homeowner purchases materials independently, responsibilities should be agreed in advance.
Some contractors include procurement, transportation, and handling within their prices. Others may charge additional fees when working with customer-supplied materials.
There can also be warranty complications if an installation fails and the parties disagree about whether the problem originated with the product or workmanship.
Clear procurement arrangements help prevent these disputes.
Money-saving takeaway: The best material purchase balances delivered cost, performance, availability, installation requirements, and long-term durability.

SECTION 8 — Reuse and Restore Instead of Replacing
A renovation does not always require removing everything old.
Many existing components can be repaired, refinished, or updated at a lower cost than full replacement. This approach may also reduce demolition, transportation, and waste disposal expenses.
The financial benefit depends on the condition of the original item and the work required to restore it.
Refresh Kitchen Cabinets
Kitchen cabinets can look outdated even when their frames and storage systems remain functional.
If the underlying construction is sound, repainting or refinishing doors, replacing handles, or upgrading hinges may provide a significant visual improvement.
In some cases, replacing only damaged doors or drawer fronts is more economical than installing a completely new kitchen.
However, cabinets with substantial moisture damage, structural deterioration, or failing components may not be good restoration candidates.
Before deciding, compare the complete refinishing cost with the price of replacement, including labor and any necessary repairs.
Restore Existing Flooring
Solid hardwood flooring may be suitable for sanding and refinishing if enough usable material remains and the underlying structure is sound.
Restoration can preserve an existing floor while avoiding the expense of full removal and replacement.
The decision should account for the floor's thickness, previous refinishing, water damage, and overall condition.
Not every flooring product can be refinished. Some engineered flooring has limited resurfacing potential, while laminate and other manufactured surfaces may require different repair methods.
A professional assessment can help determine whether restoration is technically feasible and financially worthwhile.
Update Furniture, Doors, and Fixtures
Interior doors, furniture, shelving, and decorative woodwork may also offer restoration opportunities.
Repainting a solid door, repairing a cabinet, or replacing worn hardware can change the appearance of a room without purchasing entirely new components.
Minor repairs may also help extend the useful life of existing furniture.
However, restoration should not be pursued simply because an item is old. If repairing it requires extensive labor, specialized components, or repeated maintenance, replacement may provide better value.
Use a Repair-or-Replace Comparison
Before deciding, consider the full cost of both options.
Restoration expenses may include labor, preparation, materials, replacement parts, and any additional repairs. Replacement costs should include the new product, removal, disposal, delivery, installation, and necessary finishing work.
Also consider the remaining expected service life and whether restoration will solve the underlying problem.
For example, refinishing cabinets with sound frames can be sensible. Repainting cabinets with serious water damage while leaving the moisture problem unresolved is unlikely to provide lasting savings.
Money-saving takeaway: Restore components that remain structurally sound and functional, but replace elements when repair costs or safety concerns outweigh the benefits.
SECTION 9 — Improve Energy Efficiency During Renovation
Renovation offers an opportunity to improve a home's energy performance, particularly when walls, floors, ceilings, or building systems are already accessible.
However, not every energy-efficient upgrade provides the same financial return.
The most economical improvements are usually those that address identifiable sources of energy loss and are appropriate for the home's climate, construction, and existing systems.
Evaluate Energy Performance Before Spending
Before replacing windows, insulation, or heating equipment, examine the home's current condition.
An energy assessment can help identify air leakage, inadequate insulation, inefficient equipment, and areas where improvements may provide meaningful savings.
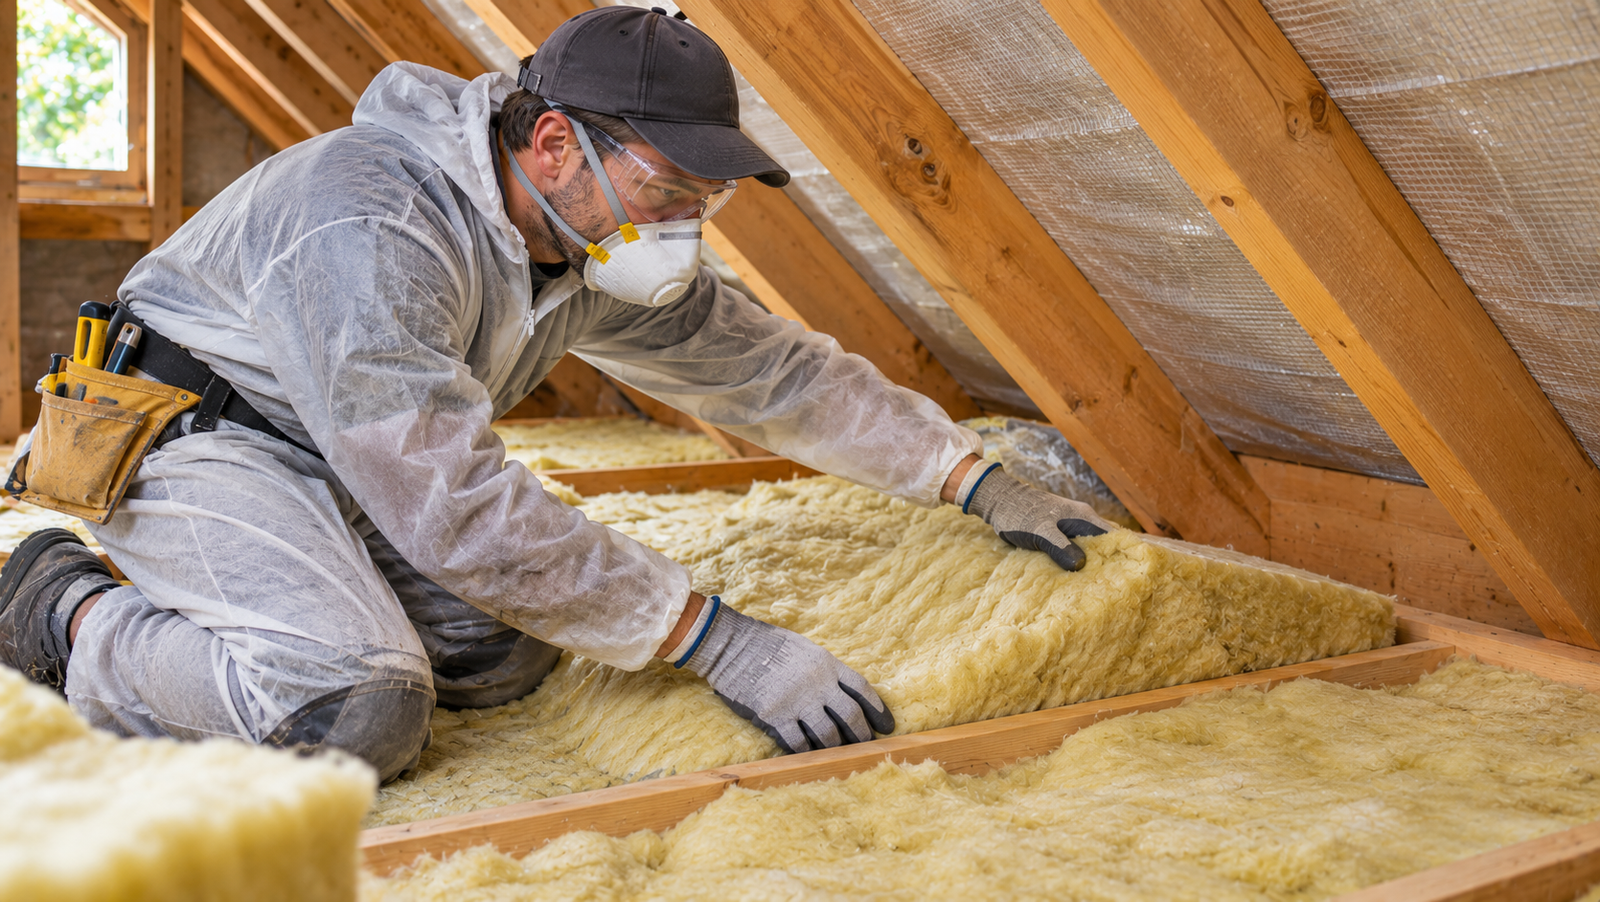
In some cases, relatively modest upgrades such as weatherstripping, correcting air leaks, or improving attic insulation may be more cost-effective than replacing expensive components.
A complete window replacement, for example, may be unnecessary if the existing windows are in reasonable condition and their main problem is deteriorated sealing.
Major purchases should be based on actual performance needs rather than assuming that newer equipment automatically offers the best financial return.
Improve Insulation and Airtightness
Insulation helps reduce heat transfer through the building envelope, while air sealing limits unwanted airflow through gaps and penetrations.
These measures work together but serve different purposes.
When walls or ceilings are already open during renovation, improving insulation may be less disruptive than returning to the same areas later.
Air leaks around doors, window frames, service penetrations, and attic openings may also deserve attention.
However, increased airtightness must be considered alongside ventilation, moisture control, and the safe operation of combustion appliances.
A poorly planned sealing project can create indoor air quality or moisture problems. For extensive improvements, qualified energy or building professionals can help assess ventilation requirements.
Upgrade Heating and Cooling Systems When Justified
Replacing outdated heating or cooling equipment may lower operating costs, but savings depend on the existing system, local energy prices, equipment efficiency, and installation quality.
A well-maintained system that operates efficiently may not need immediate replacement simply because a newer model is available.
Before investing in new equipment, consider whether controls, maintenance, insulation, or other building improvements could reduce energy demand.
When replacement is necessary, correct equipment sizing and professional installation are essential for efficient performance.
Programmable controls and appropriate zoning may also help prevent unnecessary heating or cooling, depending on how the household uses the home.
Evaluate Windows and Appliances Individually
Energy-efficient windows, doors, and appliances can improve performance, but their purchase price should be weighed against potential operating savings.
A new refrigerator may consume less electricity than an older model, yet replacing a functioning appliance early does not always provide the best overall financial outcome.
Likewise, expensive window replacements may have long payback periods in some circumstances.
Homeowners should evaluate each upgrade according to its installed cost, estimated annual savings, expected service life, and additional benefits such as comfort or reduced maintenance.
A simple payback estimate can be calculated by dividing the initial investment by expected annual savings. This provides a useful starting point, although it does not account for financing, future energy prices, maintenance changes, or the time value of money.
Think Beyond Utility Bills
Energy improvements can provide benefits beyond immediate financial savings.
Better temperature stability, reduced drafts, improved moisture control, and suitable ventilation can make a home more comfortable and help protect building materials.
However, these benefits should not be confused with guaranteed financial returns.
Money-saving takeaway: Prioritize energy improvements based on the home's actual condition, expected performance, and lifetime costs rather than assuming every efficiency upgrade will quickly pay for itself.
SECTION 10 — Avoid Common Money-Wasting Renovation Mistakes
Even a carefully planned renovation can become expensive if costs are not controlled during construction.
The greatest risk is not always a major structural problem. Smaller decisions, incomplete documentation, preventable damage, and poor communication can gradually increase the total expense.
The following practices help prevent avoidable costs once the project is underway.
Control Changes Through Written Approval
Unexpected conditions sometimes require changes to the original plan. However, changes should be evaluated before work proceeds whenever circumstances allow.
For each proposed modification, request a description of the additional work, its cost, and its impact on the schedule.
A homeowner may decide that an upgrade is worthwhile, but the decision should be informed rather than made under pressure.
Maintaining a written record also helps distinguish necessary unforeseen work from optional improvements.
Inspect Deliveries Before Installation
Damaged, incorrect, or incomplete materials can cause delays when problems are discovered only after contractors arrive to install them.
Check deliveries promptly against the purchase order and inspect packaging and visible product condition.
For flooring and tile, confirm quantities and relevant batch information. For custom products, verify dimensions, finishes, and accessories before installation begins.
Early inspection provides more time to resolve supplier errors without disrupting the construction schedule.
Protect Materials and Finished Surfaces
Poor storage can damage renovation materials before they are installed.
Moisture-sensitive products should be stored under suitable conditions, and materials with manufacturer requirements for acclimation or temperature should be handled accordingly.
Installed surfaces also need protection from subsequent work.
Preventing damage to a new countertop, finished floor, or interior door is usually more economical than arranging repairs after the renovation is complete.
Review Work at Important Milestones
Quality checks during construction can identify problems before they become hidden or affect other trades.
For example, plumbing systems should undergo appropriate testing before being enclosed, and electrical work should receive required inspection or testing before finishes conceal it.
Waterproofing details and substrate preparation should be checked at the relevant stage rather than after finished surfaces have been installed.
Homeowners should not substitute their own visual checks for inspections that require professional expertise.
Maintain a Final Completion List
Near the end of renovation, minor defects and unfinished details can become difficult to track.
A final completion list, often called a punch list, helps document outstanding work such as incomplete trim, damaged finishes, missing hardware, or adjustments that remain necessary.
Reviewing these items before final acceptance and payment, in accordance with the contract and local law, can help resolve issues while the original contractor remains responsible for completion.
Money-saving takeaway: Cost control should continue throughout construction through documented changes, material inspections, quality checks, and clear communication.
SECTION 11 — Focus on Renovations With the Best ROI
Renovation spending should reflect the homeowner's goals.
A property being prepared for sale may require a different strategy from a home that the owner plans to occupy for the next twenty years.
Understanding the type of return expected helps prevent unnecessary spending.
Distinguish Between Financial and Practical Returns
Renovation return on investment can have several meanings.
Resale ROI measures how much additional property value a renovation may contribute relative to its cost.
Operating savings reflect reduced utility bills or maintenance expenses over time.
Practical value includes improvements in comfort, accessibility, functionality, or convenience that may not translate directly into a higher selling price.
These benefits should be evaluated separately.
A heating improvement may be valuable to a long-term homeowner because of comfort and operating costs, even if the full installation expense is not recovered through resale.
Consider Moderate Kitchen and Bathroom Improvements
Kitchens and bathrooms strongly influence everyday functionality and can affect how buyers perceive a property.
However, expensive reconstruction is not always necessary.
Updating worn surfaces, improving storage, replacing damaged fixtures, and correcting ventilation or moisture problems may provide meaningful improvements without the cost of luxury remodeling.
The financial outcome depends on the starting condition of the room, the local market, and the total project cost.
A modest renovation that addresses obvious weaknesses may offer better value than replacing functional components with premium alternatives.
Do Not Overlook Exterior Improvements
The condition of a home's exterior can influence both maintenance requirements and buyer perceptions.
Repairing damaged trim, improving exterior lighting, maintaining walkways, and refreshing worn surfaces may improve appearance without major construction.
More substantial exterior projects should be assessed individually.
Research into remodeling resale values, including U.S. Cost vs. Value reports, has shown that certain exterior replacement projects can perform strongly in specific markets. However, such findings depend on the country, region, year, and methodology.
They should not be treated as universal guarantees of profitability.
Avoid Over-Improving for the Local Market
Renovation spending should remain appropriate for the property and its location, particularly when resale is an important objective.
Installing highly expensive finishes in a home where buyers do not typically expect them may provide limited additional resale value.
Similarly, unusual custom layouts and specialized luxury features may appeal strongly to one homeowner but not to the wider market.
Before committing to major upgrades, compare local property conditions and consider advice from qualified property professionals familiar with the area.
Invest in Durability Where It Matters
For long-term ownership, improvements that reduce the likelihood of future repairs can be particularly valuable.
Reliable plumbing components, properly installed waterproofing, suitable flooring, and sound building-envelope details may not provide dramatic visual changes, but they help protect the investment already made.
This does not mean always choosing expensive products. It means paying for suitable performance where failure would be disruptive or costly.
Money-saving takeaway: Define whether you are renovating for resale, long-term operating savings, or personal use, then prioritize projects that support those goals.

SECTION 12 — Create a Long-Term Renovation Strategy
Not every home improvement needs to happen at once.
For homeowners with limited available funds, dividing renovation into manageable stages may reduce financial pressure and allow essential repairs to proceed without committing to unnecessary upgrades.
However, phased renovation must be organized carefully because splitting related construction work into separate projects can sometimes increase total costs.
Create a Master Plan Before Dividing the Work
A phased renovation should begin with a complete overview of the home's long-term needs.
Even if work will take place over several years, major decisions about room layouts, heating, electrical systems, plumbing, flooring, and design compatibility should be considered together.
For example, replacing a kitchen floor before planned plumbing modifications may create unnecessary future demolition.
Likewise, finishing walls before determining future electrical requirements can result in avoidable repairs.
A master plan helps ensure that one renovation stage does not interfere with another.
Prioritize Work Based on Risk and Dependencies
Urgent safety issues, active water damage, and necessary structural repairs generally deserve attention before purely decorative improvements.
After essential problems have been addressed, homeowners can prioritize upgrades according to available funds, functional importance, and construction dependencies.
The most economical order is not always room by room.
Sometimes completing related technical work across several rooms at once is more efficient than repeatedly bringing the same contractors back to the property.
Understand When Phased Renovation Costs More
Breaking a large project into separate stages can increase certain expenses.
Contractors may charge repeated mobilization or minimum service fees. Deliveries may occur multiple times, and completed areas may require additional protection during later work.
Material prices and labor rates may also change between stages.
For example, renovating two adjacent bathrooms separately may involve repeated plumbing setup, waste removal, and contractor visits. If both bathrooms require similar technical work, coordinating those tasks may reduce duplicated expenses.
On the other hand, postponing a nonessential furniture replacement or decorative upgrade may help preserve funds without interfering with construction.
The decision should balance overall project cost with available cash flow.
Maintain Design and Technical Consistency
Long-term renovation planning should also consider compatibility between materials and systems.
If flooring will eventually continue between rooms, select a product with appropriate availability and account for possible future discontinuation.
Plan electrical capacity, plumbing access, and heating requirements with reasonable future needs in mind.
A consistent design direction can also reduce unnecessary replacements caused by mismatched finishes or changing preferences.
Protect Your Long-Term Financial Position
A renovation should improve the home without creating unsustainable financial obligations.
For nonurgent improvements, saving between renovation stages may be preferable to relying heavily on high-interest borrowing.
At the same time, postponing necessary repairs can increase future damage and costs. Financial planning should distinguish between expenses that can safely wait and problems that require timely attention.
Long-term ownership also involves maintenance. Choosing accessible service locations, appropriate materials, and repairable systems can make future work easier and less disruptive.
Money-saving takeaway: A phased renovation is most effective when it supports cash flow without creating unnecessary repeated labor or conflicting construction stages.
Renovation Savings Checklist: Before You Start
Before committing to a major renovation, use this checklist to confirm that the most important financial decisions have been addressed.
- ☐ Define the renovation scope and separate essential work from optional upgrades.
- ☐ Establish a complete budget that includes a realistic contingency reserve.
- ☐ Inspect the home's condition and identify technical or safety-related risks.
- ☐ Review the construction sequence and confirm when major materials should be ordered.
- ☐ Compare detailed contractor estimates using the same project requirements.
- ☐ Identify materials and components that can reasonably be restored instead of replaced.
- ☐ Choose DIY tasks according to actual skills, safety requirements, and expected savings.
- ☐ Review material quantities, delivered costs, warranties, and storage requirements.
- ☐ Evaluate energy upgrades according to estimated lifetime costs and benefits.
- ☐ Create a process for approving additional work and tracking project spending.
- ☐ Coordinate future renovation stages to avoid unnecessary demolition or repeated contractor visits.
- ☐ Complete required inspections and document outstanding work before final project acceptance.
This checklist can be adapted to both small remodeling projects and larger whole-house renovations.
Frequently Asked Questions
What Is the Cheapest Way to Renovate a House?
The most affordable approach is usually to retain functional structures and systems while making targeted improvements. Repainting, refinishing existing surfaces, updating hardware, and repairing damaged elements can cost less than full replacement. However, urgent safety or structural problems should not be ignored simply to reduce immediate spending.
How Can I Reduce Renovation Costs Without Sacrificing Quality?
Start by eliminating unnecessary work rather than reducing the quality of essential materials or installations. Preserving the existing layout, planning purchases, comparing contractor estimates, and restoring suitable components can lower expenses without compromising long-term reliability. Spend more where product failure would be costly or dangerous.
How Much Money Should I Keep Aside for Unexpected Renovation Costs?
A contingency allowance of approximately 10–20% is a common planning starting point, but it is not appropriate for every project. Renovations involving older buildings, concealed construction, or uncertain structural conditions may require a larger reserve. The contingency should be incorporated into the total available budget rather than treated as extra spending capacity.
Is It Cheaper to Renovate One Room at a Time?
Renovating one room at a time can make expenses easier to manage, especially when work is funded gradually. However, completing related plumbing, electrical, or structural work across multiple rooms together may reduce repeated contractor and preparation costs. The best approach depends on project dependencies, available funds, and whether the home remains occupied.
Which Renovation Jobs Should I Avoid Doing Myself?
Work involving structural modifications, gas systems, significant electrical installations, hazardous materials, and specialized waterproofing generally requires professional expertise. Requirements vary by jurisdiction, and certain projects may also need permits or inspections. DIY is best reserved for tasks that can be performed safely and competently without creating expensive risks.
Should I Buy Renovation Materials Myself or Through a Contractor?
Both options can be economical. Purchasing materials yourself may provide greater control over product selection and pricing, while contractor procurement can simplify delivery, coordination, and responsibility for compatibility. Compare the complete costs and agree in writing on who is responsible for ordering, defects, warranties, and delays.
Conclusion
Saving money during renovation is not about making every purchase as cheap as possible. It is about understanding where expenses originate, avoiding unnecessary work, and making decisions that support both the immediate budget and the long-term condition of the home.
Careful planning can prevent costly design changes, while realistic budgeting helps homeowners respond to unexpected problems without abandoning essential repairs. Preserving functional layouts, comparing complete contractor estimates, buying suitable materials, and restoring existing elements can also reduce spending without compromising quality.
Equally important is knowing where not to cut costs. Electrical safety, structural integrity, moisture protection, and professional installation of critical systems should never be sacrificed for short-term savings.
Energy improvements and renovation projects intended to increase property value also deserve careful evaluation. Their financial benefits depend on the home's condition, local market, installation costs, and the owner's plans.
The most cost-effective renovation is not necessarily the one with the lowest initial price. It is the one that achieves the necessary improvements with minimal waste, manageable financial risk, and durable results.
By approaching renovation as a series of informed decisions rather than a collection of purchases, homeowners can create better living spaces while keeping their budgets under control.